Monday, December 5, 2011

Gluten Free Gingerbread Cookies

"Oh No!  Please don't eat me!"  Ceci helped with this one, makes me laugh.


I love holiday time!  I was so fortunate to grow up with some wonderful family traditions, like decorating gingerbread houses with our family friends.  My brother and I would so look forward to this event every year, because we got to see our friends, the Arndt family, and eat candy till we burst.  Another favorite holiday tradition was the Safeway Bakery Cookie Bake, with my dad's entire family.  My grandma worked for the Safeway Bakery and once a year the company shut down the bread making process for a day and invited all the worker's families in to bake cookies.  They sold dough (glutinous of course) in 10 lb lumps of either sugar or gingerbread, and gave you HUGE cookie sheets to run them through their ovens.  It was fantastic, even if there was gluten, I just loved being around everyone and the smell of delicious cookies and holiday music filling the air of this enormous factory.

Now that I'm grown and have my own family, and live far away from my parents, I work very hard to build traditions for us.  We are so lucky to have wonderful friends who love to be a part of our traditions.  I have been doing a gingerbread decorating party for a few years now, and really enjoy it.  Last year I made the houses out of Gluten Free Gingerbread and was sorely disappointed!  So this year I went back to making the houses out of cardboard, it's so much easier!  I figure that no one actually eats the house in the end because it's so stale and awful, so why not start with a sturdier easier method.  I felt guilty for making the houses cardboard, and then made a two batches of Gluten Free Gingerbread cookies to send home with our guests.  Plus it gives something else to decorate at the party besides the houses.

I couldn't be happier with the way the cookies came out, I prefer soft, thick cookies, and these are perfectly spiced with a touch of sweetness, and are even more delicious when you add powdered sugar icing on top.  I make my icing with orange juice so it adds a citrus flavor to complement the perfect spiciness of the cookies.  I also crumbled the cookies over my bowl of egg nog ice cream last night and was very happy.  I think I would eat them for breakfast too, if I didn't have a 3 year old watching my every move, being responsible doesn't always taste good.  Ceci loves the cookies too, sneaking nibbles of the dough while we are cutting the cookies.  She really enjoys the decorating part too, I love that she just wants to sit and decorate for so long, it's wonderful, I think she has more patience for it than I do some times.

I do have to warn that I wouldn't use this recipe to make a gingerbread house, it's too soft of a dough to hold up to the structural demands of decorating.  Plus it tastes delicious and who wants to waste that on a house that no one eats.

Can you guess which one Ceci decorated?  


Gluten Free Gingerbread Cookies

1/3   Cup Soy Flour
2/3   Cup Brown Rice Flour
1      Cup Sweet Rice Flour
1      Cup Tapioca Starch
1 1/2 tsp Xanthan Gum
1 1/2 tsp Baking Powder
3/4    tsp Baking Soda
1/4    tsp Salt
1       Tbs Ground Ginger
1 3/4 tsp Ground Cinnamon
1/4    tsp Ground Cloves

6      Tbs Unsalted Butter (softened)
3/4   Cup Brown Sugar (packed)
1      Egg
1/2   Cup Dark Molasses
2      tsp Vanilla

Preheat oven to 375 degrees (F), and prepare 2 baking sheets lined with silpat or parchment paper and set aside.  Pick out cookie cutter shapes to use.

Wisk together dry ingredients in a mixing bowl and set aside.  Cream Butter and Brown sugar on medium speed in a stand mixer until combined.  Add egg molasses and vanilla and beat until incorporated, scraping down the sides of the bowl if needed.
Gradually add in dry ingredients until well blended and smooth.  Divide dough in half, wrap in plastic and allow to rest at room temp for 2-8 hours.  Dough will be incredibly soft at first and will firm up when left out.
Working on a lightly floured surface roll out one ball of dough to 1/4 inch thick and cut out cookies, place the cookies on the prepared baking sheets and bake in oven for 5-7 minutes, depending on the size of the cookies, and preferred doneness of cookies.  Gather the dough scraps and re-roll and cut until all the dough is used, or dough is to tough to roll out.  Repeat rolling, cutting and baking for the second ball of dough.
Allow cookies to cool completely and then frost and decorate with Powdered Sugar Icing Recipe.  After the Icing hardens you can pack these cookies up into pretty boxes and give to friends, just remember to separate layers of cookies with wax paper so they don't stick to one another.

Powdered Sugar Icing

2   Cups Powdered Sugar
1 1/2 Tbs liquid (milk or orange juice, I like the flavor of orange juice with the cookies)

Mix in a bowl until smooth.  Adjust consistency as needed by adding more powdered sugar or liquid.  Add food coloring and place into a piping bag, or a zip top bag with a bottom corner cut off.  Decorate cookies as desired, and ENJOY!

Friday, December 2, 2011

Gluten Free TV!


Last night we watched ABC's "Man Up!", it was an episode about a whole family starting a gluten free diet.  It's not a show we normally watch, but Tim had seen the write up in TV Guide and DVR'ed it for us.  It was pretty funny!  The banter was great, although they didn't have the greatest grasp on what was gluten free and what wasn't, at one point suggesting that potato chips and gummy bears had gluten.  Still it was fun to see them make gluten intolerance entertaining.  I think one of my favorite exchanges was:

"Gluten, isn't that the stuff in light bulbs?"
"No."
"Oh, gluten, you mean Aquaman's nemesis!"

Awesome!!  Because there have been a good many days of my life time where that's how I felt trying to explain gluten and why I can't consume it.

Anyway if you have 24 minutes or so, and are looking for something funny, check it out.  Here is the link

ABC's Man Up! Disciplining the Keens, through ABC.go.com

and Man Up! Disciplining the Keens, through Hulu.

Saturday, November 26, 2011

Gluten Free Beer Battered Fried Fish


Delicious Fish and Chips!

Last night Tim (my husband) made us an AMAZING Beer Battered Fish and Chips for dinner!  I asked him to write a guest post for the blog, I will warn you he has a VERY different cooking style than I do.  We joke that I'm a scientist and he is an artist, because I HAVE to measure everything and have a plan, he on the other hand, adds a dash of this and a pinch of that and it comes out perfect.  I cannot cook the way he does, and he can't comprehend cooking the way I do, and that's how we get fed around here.  So here it goes, I hope you enjoy Tim's cooking too!

Tim's Gluten Free Beer Battered Fish

I always get inspired to make things that are typically quite gluten filled, and then I adapt them for a gluten free meal.  The other night, I was really in the mood to deep fry, and we were having a couple over for dinner, who always give me lots of liberty to experiment. They suggested Fish and Chips.

For the Chips, I used a pretty well known and standard recipe. Cut the potatoes, wash off the starch, and then pat them VERY dry. Fry them at 375. Take them out, drain them on a rack, and then fry them again. Season liberally, before the oil dries. That's easy.

So, I decided to make a beer batter. After Googling regular beer batter recipes, and then gluten free recipes, I adapted, and made my own. I made a test strip, tweaked the batter, and made a second, which was pretty perfect, and highly praised by all who sampled.

Here’s what I did:

8 tilapia filets, sliced in half, lengthwise, separating the thinner ones and thicker ones in two separate piles, so when I fried them, they’d cook evenly. I did not want to mix and match the thicknesses, and end up overcooking the thinner ones.

The beer batter was:
1 cup of sweet rice flour, Paprika, Kosher Salt, Ground White Pepper, Ground Black Pepper, (I have a mill for the black pepper, but I like the store-bought ground white, because it’s a super fine ground.) I don’t really know how much I put in. I put in more than I thought I would. Then, after the first test strip, realized it needed quite a bit more. So I added more.

I mixed all the dry ingredients. Then, I took 1 egg, which I beat in another bowl, first. And then mixed in the egg, and whisked that.

Then I whisked, while slowly adding in the beer. I used a whole bottle of ice cold New Grist, right out of the fridge.

I covered the fish strip in tapioca starch, shook off the loose starch, and then immediately dropped it into the batter, swooshing it around to get full coverage, and put it into the fryer, into vegetable oil at 375 degrees, almost still dripping. The consistency of the batter was so thin, you could almost see the fish in there, under the batter. Andrea was concerned with the thin-ness of the batter (as was I, but I didn’t voice it), but it worked.

We have a Fry Daddy fryer, so it fit 3-4 strips comfortably in the basket, without touching each other. I fried until they were golden brown, took them out, and drained them on paper towels, flipping to drain both sides. That was it!

In between each batch, I re-whisked the batter to keep it from separating.

The four of us finished almost all but two of the thin strips, which means four people ate 3.5 pounds of fish. I’m making a note here: huge success!

Wednesday, November 16, 2011

Gluten Free Red Velvet Cupcakes

Gluten Free Red Velvet Cupcake with Cream Cheese Frosting

At some point in the last year I attempted to make Red Velvet Cupcakes, well Green Velvet anyway (I'll explain in a second), and did not like them.  Recently I was inspired to try them again, and looked up a new recipe, I am currently obsessed with them, and so is Ceci!  She can't get enough of them, when we had them she asked to eat one constantly, I had to bargain with her so she wouldn't try to eat all of them at once.  I was really pleased with the taste and tenderness of the cake, and who doesn't love cream cheese frosting to top off everything??

It turns out that there were a lot of problems with my first attempt at Velvet Cupcakes and subbing green food dye for the red was the least of the issues.  My husband thought for years that he was allergic to red dye, from some incident back in his college years, and until he saw the allergist this year we just avoided all forms of red dye.  The Dr told him that it was a made up allergy and he had never heard of it in all his years of practice.  So now I can use all the red dye I want in cupcakes.  The other major issue with the first batch of cupcakes was the recipe used oil instead of butter, so they came out greasy and unappealing, even the cream cheese frosting couldn't save them.

You can understand why I was hesitant after that disaster to try Red Velvet again.  Like I said previously I was inspired, I had purchased buttermilk to use for Pumpkin Whoopie Pies and had left over so I thought hard about other recipes that use buttermilk and came up with Red Velvet Cupcakes.  After some research I found what looked like a good recipe and worked to convert it over to Gluten Free.

We took them to a 2nd Birthday/House Warming Party for some family friends, one of the other guests had brought lots of fancy mini cupcakes from the famous bakery in NYC, Crumbs.  He told me he preferred my cupcakes to the fancy store bought ones!!!  That makes my day!  Having people who can eat gluten tell me that my gluten free versions taste better than the regular ones, especially when they are saying it's better than expensive boutique cupcakes!

I hope you enjoy them as much as Ceci does!

Red Velvet Cupcakes:

1 1/4 Cup Sweet Rice Flour
1   Cup Tapioca Starch
1/4 Cup Soy Flour
1  tsp Xanthan Gum
1/2  tsp Salt
2  Tbs Coco Powder (Dutch Processed)
1/2  Cup Unsalted Butter at Room Temperature
1 1/2 Cup Granulated Sugar
2   Eggs
1  tsp Vanilla Extract
1  Cup Buttermilk
2  Tbs Red Food Coloring
1  tsp White Distilled Vinegar
1  tsp Baking Soda

Preheat oven to 350 degrees (F).  Line about 20-24 cupcake tins with paper liners and set aside

Mix flours, xanthan gum, salt, and coco powder in a mixing bowl and set aside.  Cream butter and sugar in stand mixer, add eggs and vanilla, and beat well to combine, scrape down the sides of the mixer after ingredients are well combined.  Measure buttermilk, and wisk red food dye directly into buttermilk.
With the mixer on low speed, alternately pour the flour mix and the buttermilk mix into the mixer, beginning and ending with the flour.
In a small cup, combine the vinegar and baking soda, allow it to foam, and then quickly mix it into the cake batter.
Quickly portion the cake batter into the prepared pans and move to the preheated oven.  Bake cupcakes for 18-20 minutes or until a toothpick inserted into the middle of the cupcake comes out clean.
Let the cupcakes cool for several hours before frosting them.  Use Cream Cheese Frosting to top them with.  You can cut the frosting recipe in 1/2 so you don't end up with a TON of frosting.


Wednesday, November 9, 2011

Gluten Free Apple Turnovers


First Attempt:
I've had a box of Orgran gluten free puff pastry mix sitting in the cabinet for months now, waiting to be used.  While the weather was so hot, I didn't even want to think about playing with a temperamental dough that MUST be cold to function.  Just the last few days have been beautiful early fall days here in New York, which inspired me, I bought a small bag of apples at the store the other day and it all came together for me, apple turnovers.  We had a family dinner date tonight, and I almost always bring dessert, so it was perfect, Tim was home all day to take care of Ceci while I devoted my time to handling the puff pastry.  It took me about 4 hours total to make 8 turnovers, but they were worth it, and it was the first time I have ever made turnovers so I think there is a huge learning curve there.
Second Attempt:
The box comes with good instructions on it, I was able to follow them very easily, and come out with a beautiful dough.  I must admit that the first time I used the mix, I was pretty tired and used poor math to calculate the amount of butter needed for the mix.  Only half the butter made it into the dough and resulted in a rather tough end product.  The second time I made it I used the full correct amount of butter and they were much better tasting, crispy, crunchy on the outside and nice on the inside.  Both times I made them it looked like Frankenstein had tried to make the turnovers, but it didn't hurt the taste at all.  I would advise you eat them as soon as possible, as the dough does get tougher over time, but 30 seconds in the microwave and a little ice cream never hurt anything either right??

Again I will warn you they are A LOT of work, for only a few turnovers.  I did make mine pretty big, maybe next time I will chop my apples smaller so I can make smaller turnovers.

Box of mix, with instructions on the back
This is the box I purchased at the store.  The instructions on the back are good, but you should read them a few times to get a good understanding of what they are saying before you dive into the project.  It also offers a Vegan Option for making the dough on the box.


Gluten Free Apple Turnovers

1 Box of Orgran All Purpose Pastry Mix
2+1/4 Sticks of Unsalted Butter
8.2 oz Soda Water

2 Medium Apples diced small
1/4 Cup Granulated Sugar
1/2 tsp Cinnamon, ground
1/8 tsp Cloves, ground
dash of salt

Mix Diced Apples, sugar, cinnamon, cloves and salt in a bowl and allow to rest while working the dough.


(Directions from back of Orgran Box)

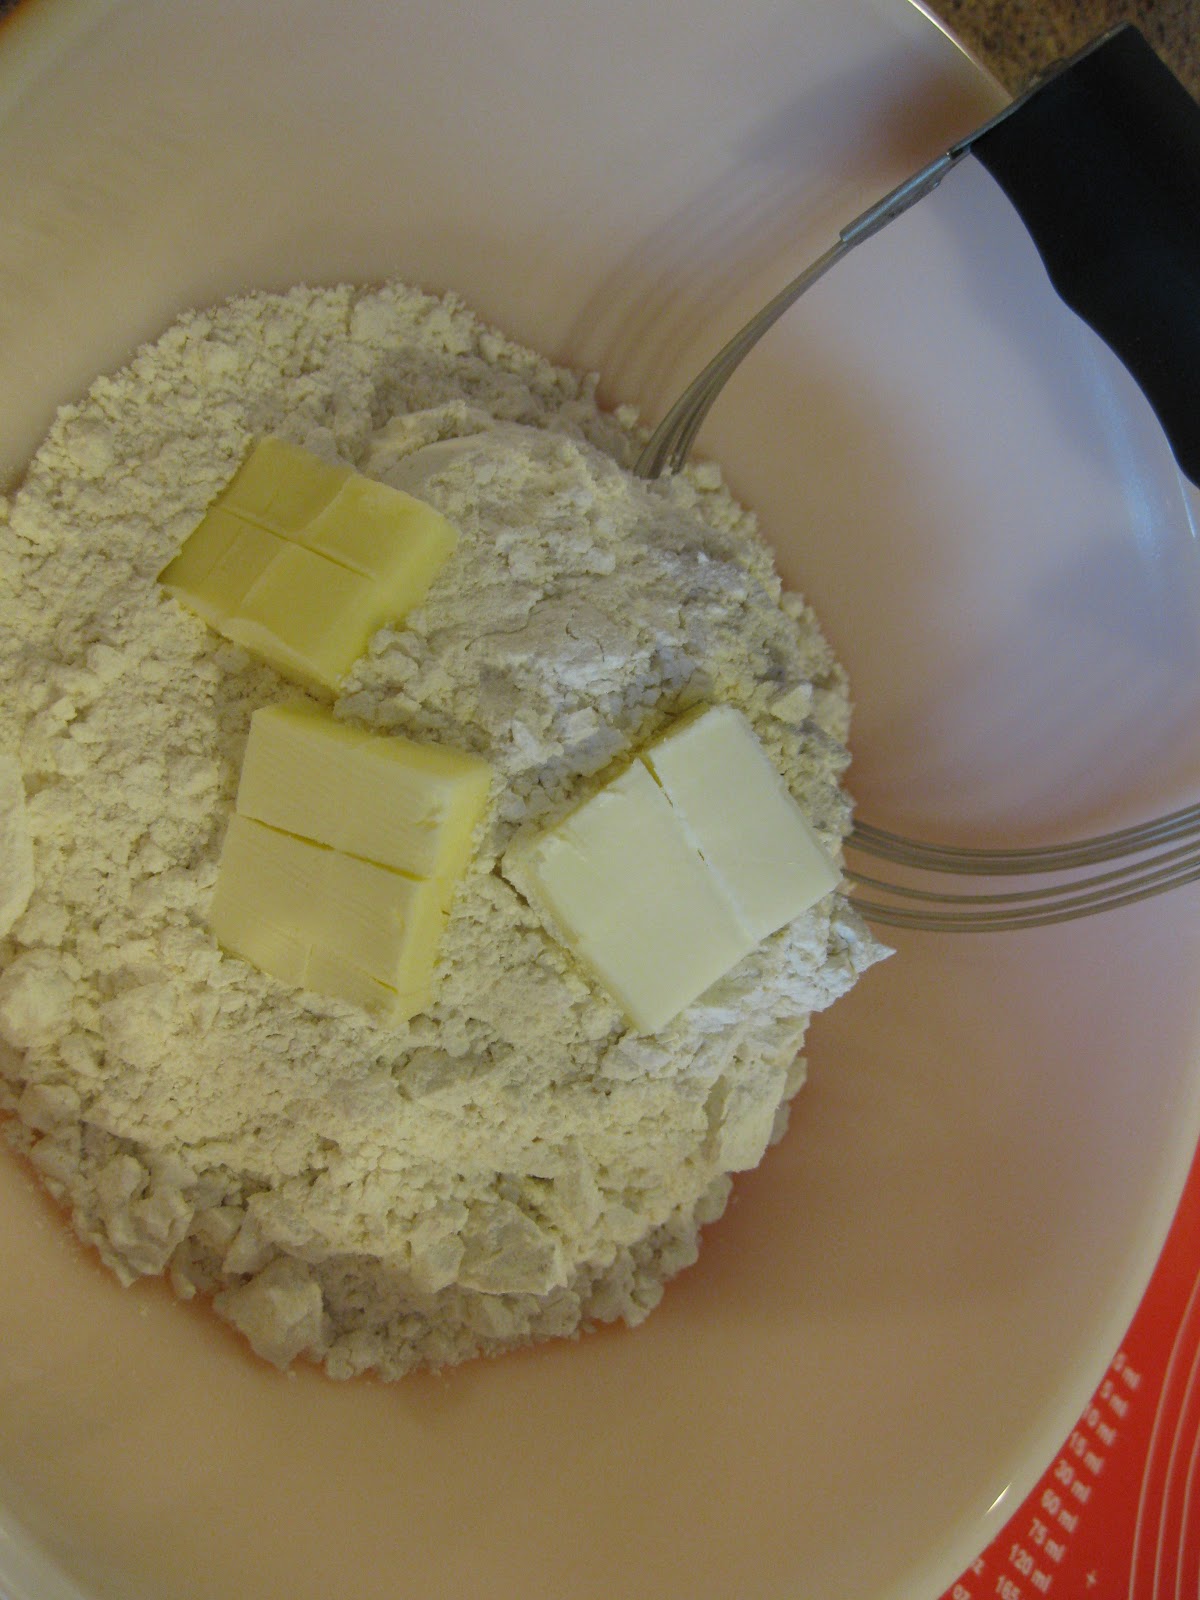
1.  Cut 1 oz of butter into Pastry mix with pastry cutter


2.  Make a well and pour in the 8.2 oz of soda water


3.  Mix until well developed dough is formed.


4.  Cover dough and allow to rest for 10 min

5.  Roll out the dough to a rectangle shape so that it is 3 times as long as it is wide and approximately 1/4 inch thick.


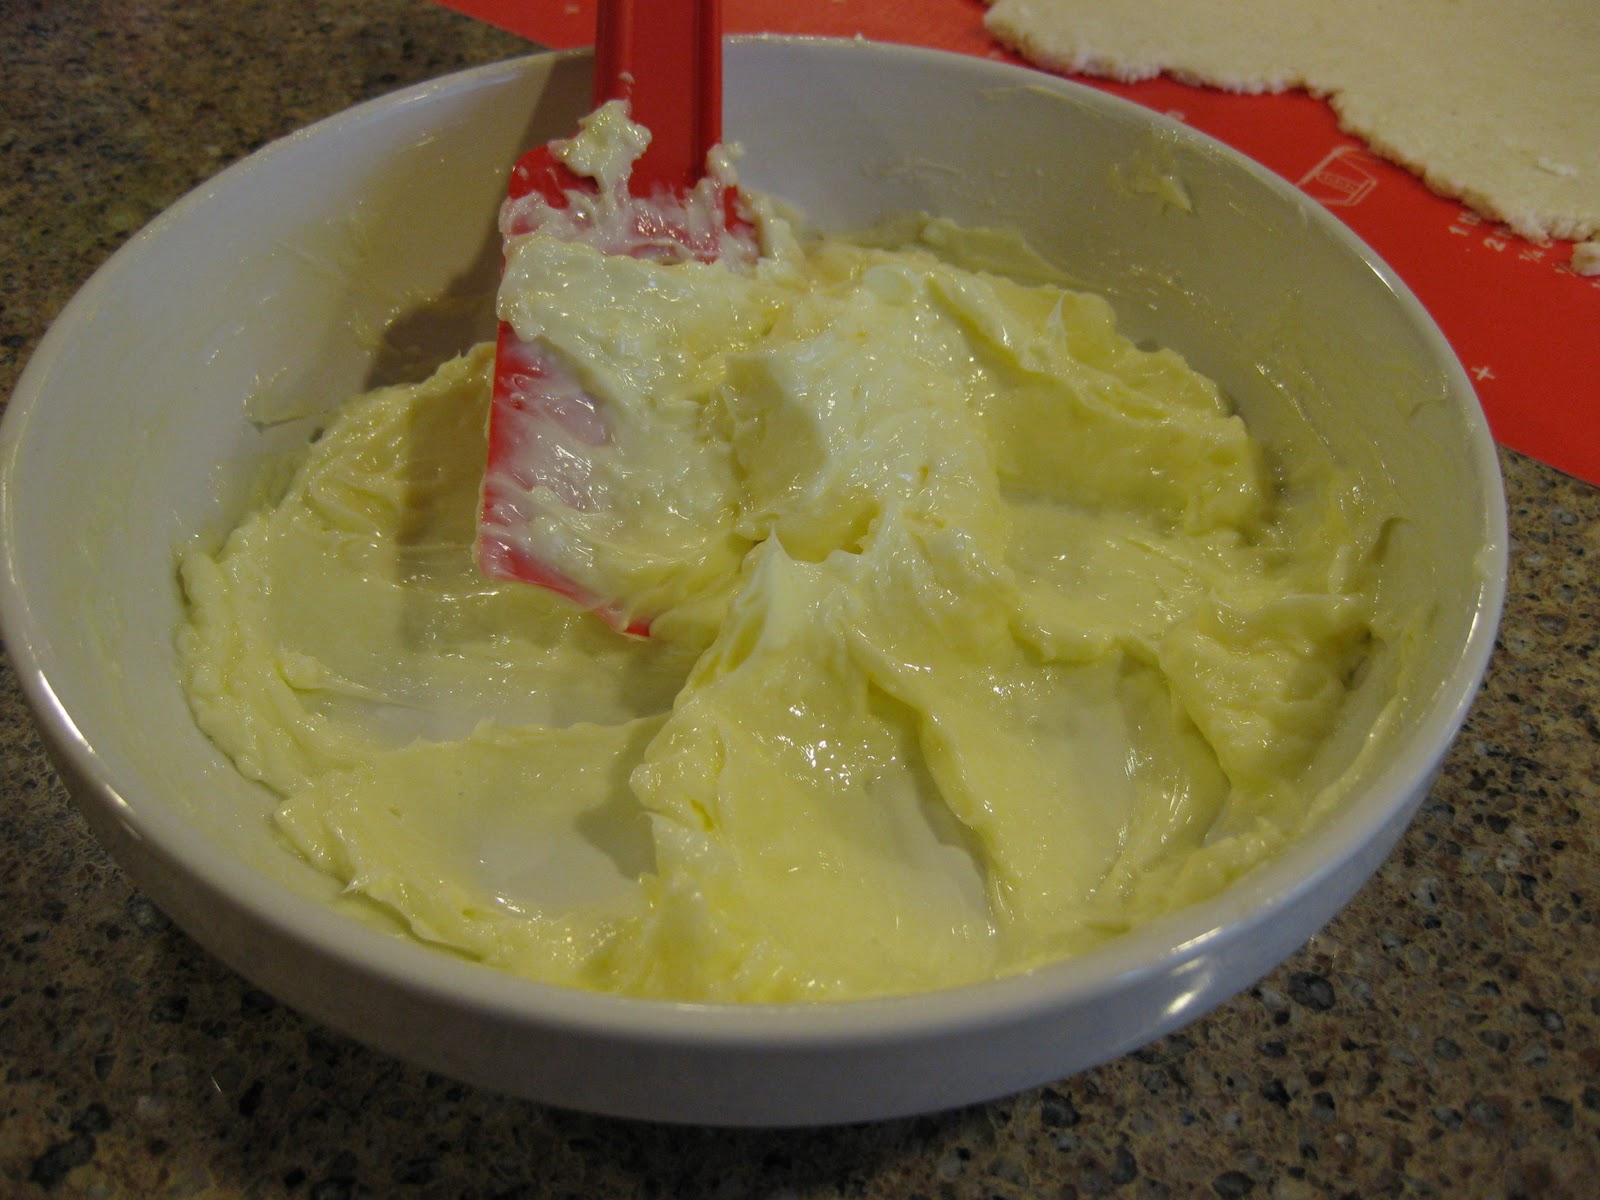
6.  Thaw the 2 sticks of butter so it can be easily smeared over the dough, do not melt it, just soften it slightly.  (The instructions say to roll out the butter between two sheets of wax paper, I found this step really difficult and decided the second time around to soften the butter instead.)


7.  Smear the butter on 2/3 of the dough.


8.  Fold the remaining 1/3 of the dough over the butter and then fold again to completely cover the butter.  This is #1 half turn.


9.  Rotate the dough so the seam is on your right.  Repeat the folding process by rolling out the dough into a rectangle again.  This is now #2 half turn.

10.  Give the dough a total of 6 half turns.  cove and rest the pastry in the freezer for 15 minutes after every 2nd turn.

Preheat the oven to 350 degrees (F).

After you have rolled out the dough for the last time, cut it into 8 equal squares (I still can't master this step, that's why mine are not pretty.)  Place a small amount of the apple mix in the middle of the square and fold one corner over to the opposite, on the diagonal.


Pinch the seam closed with fingers or a fork if you like, just make sure it is tightly sealed so the juices won't leak out.  Repeat until all 8 are made, placing them on a silpat or parchment lined baking sheet after they are sealed.


Cut a few tiny slits in the top of each turn over to let steam out so they don't explode in the oven.  Place baking sheets into the preheated oven and bake for 20 min.


Allow to sit on baking sheet for a few minutes before transferring to a cooling rack.  You can eat them when they are still warm, just be careful not to burn your mouth.  Enjoy!


Friday, November 4, 2011

Gluten Free Pumpkin Pancakes


I got inspired by fall the other day and decided to make pumpkin pancakes for breakfast, it just seemed like the thing to do.   I found a small ziploc of pumpkin in the freezer (I have some stashed in there for making pumpkin scones) and figured I would mix it into the pancake mix somehow.  It wasn't to hard, just mixed the pumpkin into the liquids, and added some spices.    I couldn't have been happier with the result!  They were perfectly fall, with the cinnamon, cloves, and ginger.  The pumpkin gave them extra moisture, while making a delicious flavor.  With a bit of butter and syrup they made a fabulous treat on a fall morning.

I used Bob's Red Mill Pancake Mix that we had in the cabinet and followed the instructions on the package.  I just added the pumpkin and the spices, and cooked them up just like normal.

Gluten Free Pumpkin Pancakes

1 Batch of Bob's Red Mill Gluten Free Pancake Mix (prepare according to instructions on package)
1/2 Cup Pureed Pumpkin
1     tsp Cinnamon (ground)
1/8  tsp Cloves (ground)
1/8  tsp Ginger (ground)

Mix up the pancakes according to the package and add in the pureed pumpkin and spices, and mix well.  You may need to add another tablespoon or two of milk to the batter to make the consistency nice and liquid-y.  Pour 1/4 cup of batter into a medium-hot non-stick pan and cook for about 3 minutes on one side, flip over and cook for another 2-3 min.  Cooking time may vary depending on your pan, and stove.  Cook until golden brown on the outside and cooked through the center.

Enjoy with butter and maple syrup, or any other delicious toppings you can think of!


Wednesday, September 28, 2011

Gluten Free Chocolate Honey Cake

Dusted with powdered sugar and coco powder
We were invited to a Rosh Hashana celebration for dinner tonight, and I asked if I could bring a dessert.  This will be our family's first Rosh Hashana dinner so I did a little research about traditional desserts and quickly found that Honey Cake is the most obvious choice.  After looking over so many recipes this morning I finally found one that I liked and had most of the ingredients for.  I made my exchanges for gluten free flours, and adjusted for the one or two items I didn't have in the house and away we went.  It was really easy to make, and baked up nicely too.  I did sneak a crumb off the bottom of the cake before I turned it out on to the drying rack, and it tasted pretty delicious, hopefully our hosts will think so tonight.  Below you will find the recipe I adapted from the original Chocolate Velvet Honey Cake by Marcy Goldman

After dinner we cut into the cake, and it was amazing!  Ceci had been waiting ALL day to have a few bites of that delicious, moist, chocolate, sweet, treat.  Everyone enjoyed it and was raving about it, in fact I was told that this could be my new passover assignment next year.  I was so pleased that it came out so sweet and moist, and everyone truly liked it.  Hope your family and friends enjoy it too!


1/4 cup Soy flour
1/2 cup Brown Rice flour
1 cup Tapioca Starch
1 cup Sweet Rice flour
1 1/2 teaspoons Xanthan Gum
1/2 cup cocoa

1 tablespoon baking powder
3/4 teaspoon baking soda
1/2 teaspoon salt
1-2 teaspoons cinnamon
1/2 teaspoon cloves
1 cup vegetable oil
1 cup honey
1 cup white sugar
1/2 cup brown sugar
3 eggs
2 teaspoons pure vanilla
1 cup Strong Coffee
1/2 cup coarsely chopped semi-sweet chocolate
Garnish: confectioner's sugar, cocoa, drizzled melted semi-sweet chocolate, 
Preheat oven to 350 degrees Fahrenheit. Generously spray a nine- or 10-inch tube pan or angel food cake pan with cooking spray. Line a baking sheet with parchment paper and set aside.
In a large bowl, whisk together flours, cocoa, baking powder, baking soda, salt, cinnamon, and cloves.
In a stand mixer, add in the oil, honey, white sugar, brown sugar. Blend well about 1 minute. Add in the eggs, vanilla, and Coffee. Blend well for another minute.
Fold in the dry ingredients and blend for about two minutes, until smooth, stopping the machine once or twice to ensure that ingredients are all blended and not stuck at the bottom.
Fold in chocolate chips. Spoon or pour batter into prepared pan. Place cake on baking sheet and bake until done, about 60-75 minutes, until cake springs back when gently pressed with fingertips. Cool 10 minutes before unmolding from pan.
Dust cake with confectioner's sugar, or cocoa. Or, drizzle on melted, semi-sweet chocolate.